
How to Make Paracord Bracelet
Ever wondered how to make a stylish and functional accessory right at home? Enter the paracord bracelet, a resilient piece initially used by soldiers in World War II. Our comprehensive guide provides step-by-step instructions to create your very own personalized paracord bracelet.
Let’s dive in and explore this crafty world of knots and weaves!
Key Takeaways
- You need a paracord, buckle, and sharp scissors to make a bracelet.
- Measure your wrist size for the right fit. Choose one or two favorite colors for your design.
- Wrap the cord around your wrist and mark where it meets. This shows how much cord you need.
- Learn different knots like the cobra knot or sheet bend knot. Use them to create fun bracelet designs.
- Cut off extra cord after knotting and melt ends with a lighter. Try new color combos and knots for fresh looks!
Materials Needed for Making a Paracord Bracelet

To start crafting your paracord bracelet, gather the necessary materials which include quality paracord, a durable bracelet buckle and a pair of sharp scissors.
Paracord
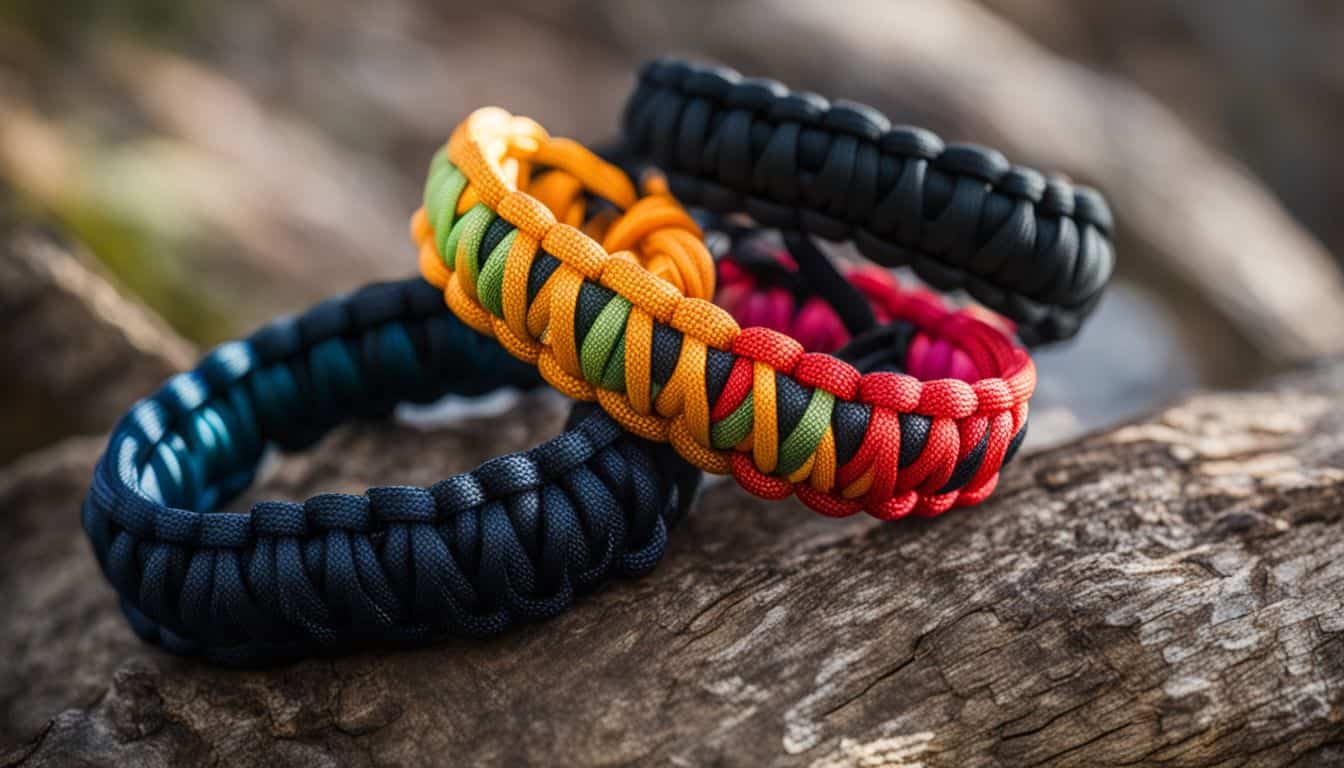
Paracord is a strong cord used in the past in parachutes during World War II. Its other name is “550 cord”. It comes in many colors for you to choose from for your bracelet. Paracord gets weaved or knotted into different patterns to make fancy bracelets.
The inner part of the bracelet can be a different color than the outside part. This makes the bracelet look cool and unique. Not only do they look good, but paracord bracelets can also help you out in tight spots.
They can turn into fishing lines, first aid gear, or repair tools when needed.
Bracelet buckle

You need a bracelet buckle to make a paracord bracelet. This is the part of the bracelet that helps you keep it on your wrist. The buckle should fit your wrist size well. Too big or too small can lead to comfort issues.
There are many types of buckles for paracord bracelets. Some have whistles, compasses or tiny knives in them. These are good for people who like outdoor adventures, but simple ones work as well.
Buckles come in many colors too – pick one that matches your cord!
Scissors
Scissors are a must-have tool for making a paracord bracelet. You will use them to cut the cord into needed lengths. Without sharp scissors, you may end up with frayed ends on your cord.
This can make it hard to weave or knot your bracelet. Keep in mind that dull scissors might not cut the paracord well. Always have a good pair of scissors ready when making your paracord bracelet.
Measuring Your Wrist

To accurately construct your paracord bracelet, you’ll need to first measure your wrist, choose the colors that appeal to you, then adjust the length of the cord based on this size.
Choosing colors
Pick your paracord colors before you start. Each bracelet needs one or two colors. Some people like bright shades for a fun look. Others prefer dark tones for a cool and sleek style.
The center of the bracelet can be different from the outside layer too, creating an eye-catching design. Making color choices lets you add personal touch to your paracord bracelet design.
Measuring wrist size
You need the right size for your paracord bracelet. First, get a soft measuring tape. Wrap it around your wrist where you will wear the bracelet. Look at the number on the tape to see how long it is around your wrist.
You can also use a piece of string if you don’t have tape. After, lay the string out straight and measure it with a ruler.
For each inch of your wrist size, plan to use one foot of paracord. So, if your wrist measures seven inches round, you’ll need about seven feet of cord for your bracelet. This method helps ensure that your paracord bracelet fits well every time!
Setting Up Your Bracelet
Start by wrapping your paracord around your wrist, marking where the end meets the rest of the cord. This will give you an accurate measurement for your bracelet length, ensuring a comfortable fit.
Wrapping cord around wrist
It tells us how much cord we need for a well-fitting bracelet.
Marking the spot
Take your cord and wrap it around your wrist. Look for the spot where the ends meet. Now, hold that meeting point tightly with your fingers. This is an important step in making a paracord bracelet.
You mark this spot so you know how big to make the bracelet. It helps you get the right size for your wrist. Make sure not to let go of this place on the cord!
Detailed Paracord Bracelet Instructions
After setting up your bracelet, follow the detailed step-by-step guide below to learn how to create different knot variations that add unique touches to your paracord bracelet design.
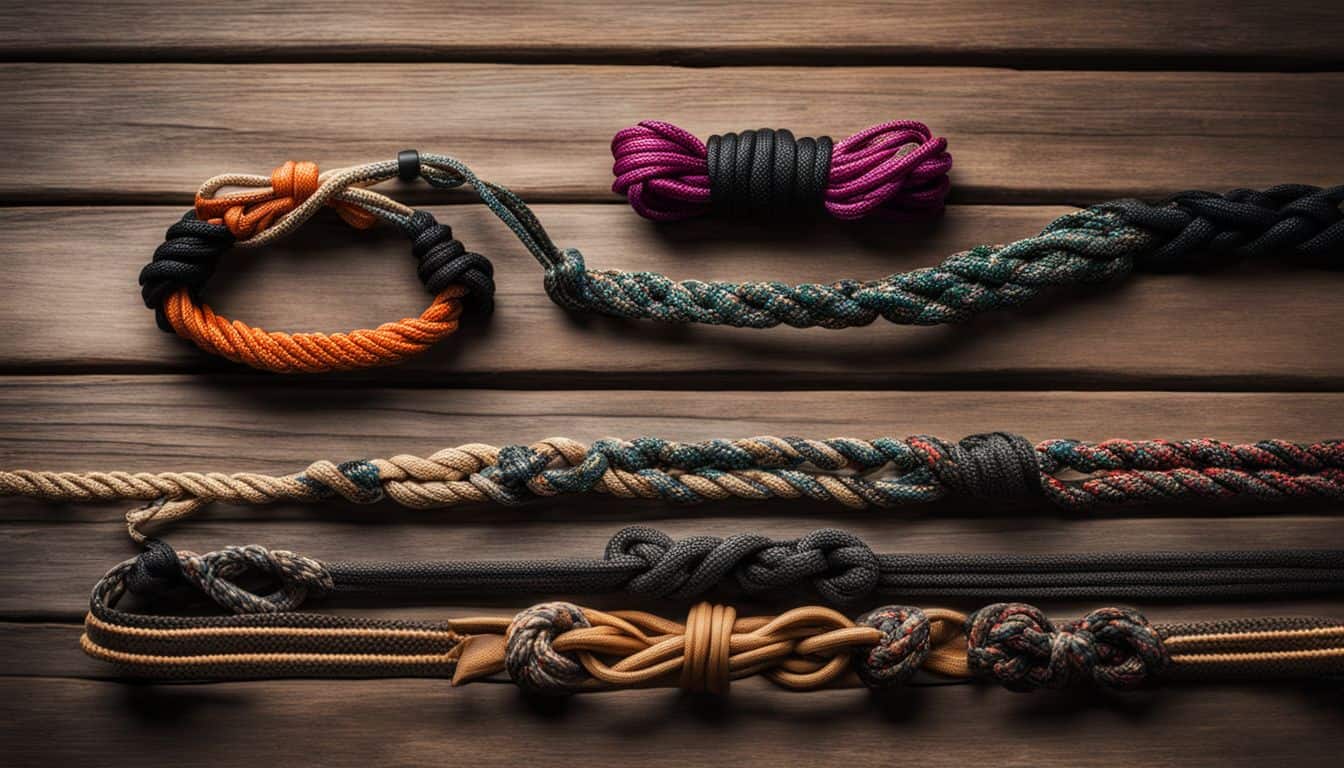
Making knots
You will use knots to make your paracord bracelet. The cobra knot is a common one to use. To make this knot, place the right cord over the center cords and under the left cord. Then place the left cord under the middle cords and through the loop on the right side.
Pull it tight and repeat with alternating sides until you reach your desired length. This way, you’ll create a pattern of paracord bracelet knots that look nice in any color or design!
Different knot variations

You can use many types of knots for your paracord bracelet. Two common ones are the sheet bend knot and the cobra knot. The sheet bend knot is easy to do. It holds tightly so your bracelet won’t come loose.
Then there’s the cobra knot. This one looks great on any wrist.
Try different kinds of knots too! Each one gives a new look to your paracord bracelet. Find out how fun it can be to test new patterns and designs with these knots!
Finishing Your Bracelet
After you complete the knots, trim any excess cord and carefully melt the ends for a clean finish. Explore other variations to customize your paracord bracelet.
Trimming excess cord
Use sharp scissors to cut off extra cord. It’s important to trim closely, but be careful not to snip the weave of your bracelet. Then, melt the ends of the cord with a lighter. This stops it from fraying and keeps your paracord bracelet looking neat for a long time.
Melting the ends
Be careful here. Use a lighter to melt the ends of your paracord. Hold each end over the flame for just a few seconds until it starts to melt, then quickly pull away. Doing this seals up the cord and stops it from becoming undone or fraying later on.
Be sure not to hold too close or long as that can set the cord on fire! Let cool down before touching, so you don’t burn your fingers. This step is what finishes off your special paracord bracelet design right!
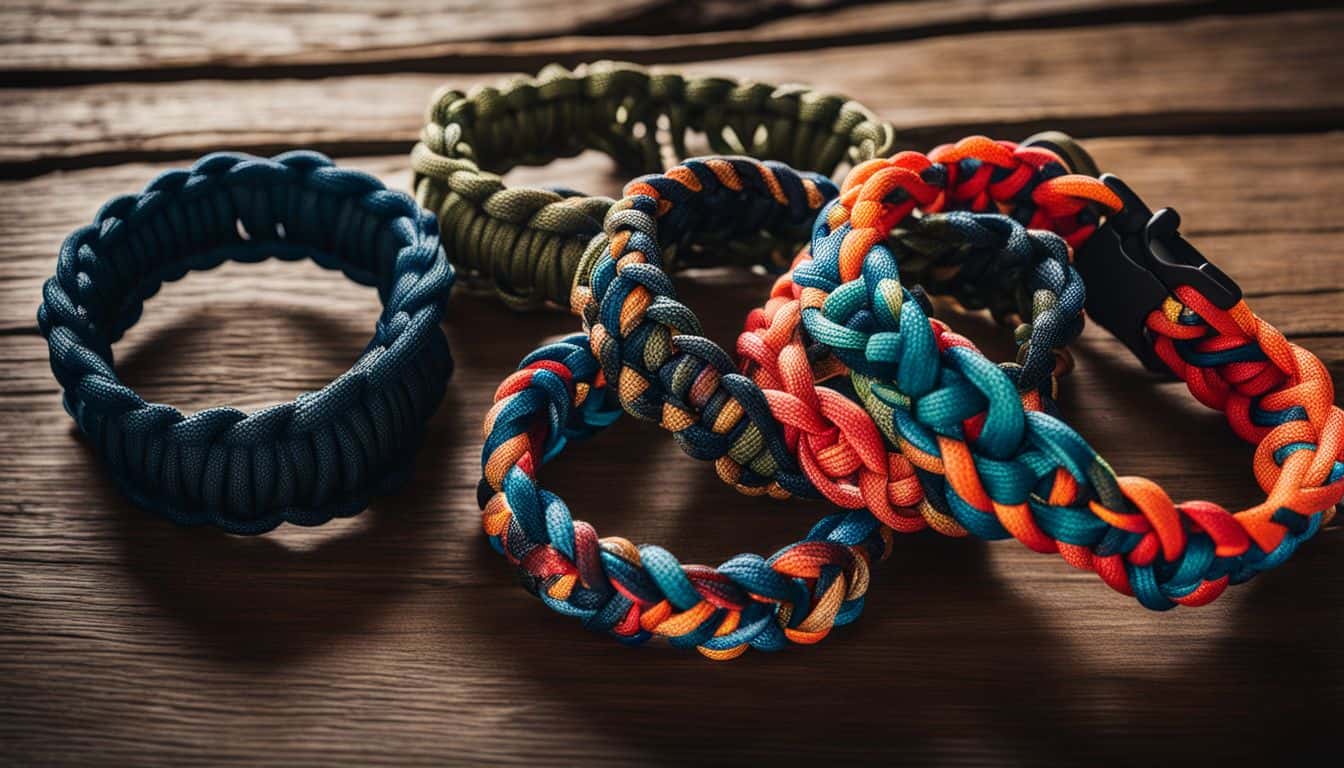
Other variations
You can change how your paracord bracelet looks. There are many styles and colors to try. You can use more than one color on the same bracelet. This makes a fun look! The middle part of the bracelet can be a different color from the outside layer too.
There are different ways to tie knots in your paracord bracelet. Some people like the cobra knot or sheet bend knot. But, there are also other interesting knots you could learn. Each new style will give your bracelet a fresh look!
Conclusion
Making a paracord bracelet is an easy and fun task. You can pick your favorite colors and patterns. Get started today! Show off your new skill to all of your friends.
FAQs
1. What is a paracord bracelet?
A paracord bracelet is a wearable band made out of parachute cord, often used in survival situations.
2. How much paracord do I need to make a bracelet?
Typically, you’ll need about 10 feet of paracord to make an average-sized bracelet.
3. What can I use if I don’t have a buckle for my paracord bracelet?
If you don’t have a buckle, you can simply tie the ends of your paracord into knots to secure your bracelet.
4. Can children make their own paracord bracelets?
Yes, making a simple design with close adult supervision could be fine for older kids.
5. Is there only one way to weave a paracord bracelet?
No, there are many ways to weave your cord – some popular methods include cobra stitch and snake knot.
