
Paracord Bracelet Instructions

Are you eager to create your own paracord bracelet but unsure where to start? Crafting these highly useful survival tools is easier than you might think. This comprehensive guide will provide step-by-step instructions, introduce various knotting techniques, and give helpful tips to master the art of paracord bracelet making.
Let’s get started; your next favorite accessory awaits!
Key Takeaways
- You need a paracord, scissors, lighter, buckle or button, tape measure and flat surface to make your bracelet.
- Measure your wrist with the cord before you start weaving. The middle point of the paracord is where you start making knots.
- Weave by taking one strand over the middle pieces and under another. Trim extra bits and melt the ends with a lighter when done.
- There are many patterns for these bracelets like King Cobra Knot, Trinity Knot among others. Paracords are also used in other crafts such as keychains or dog leashes.
Materials and Equipment Needed
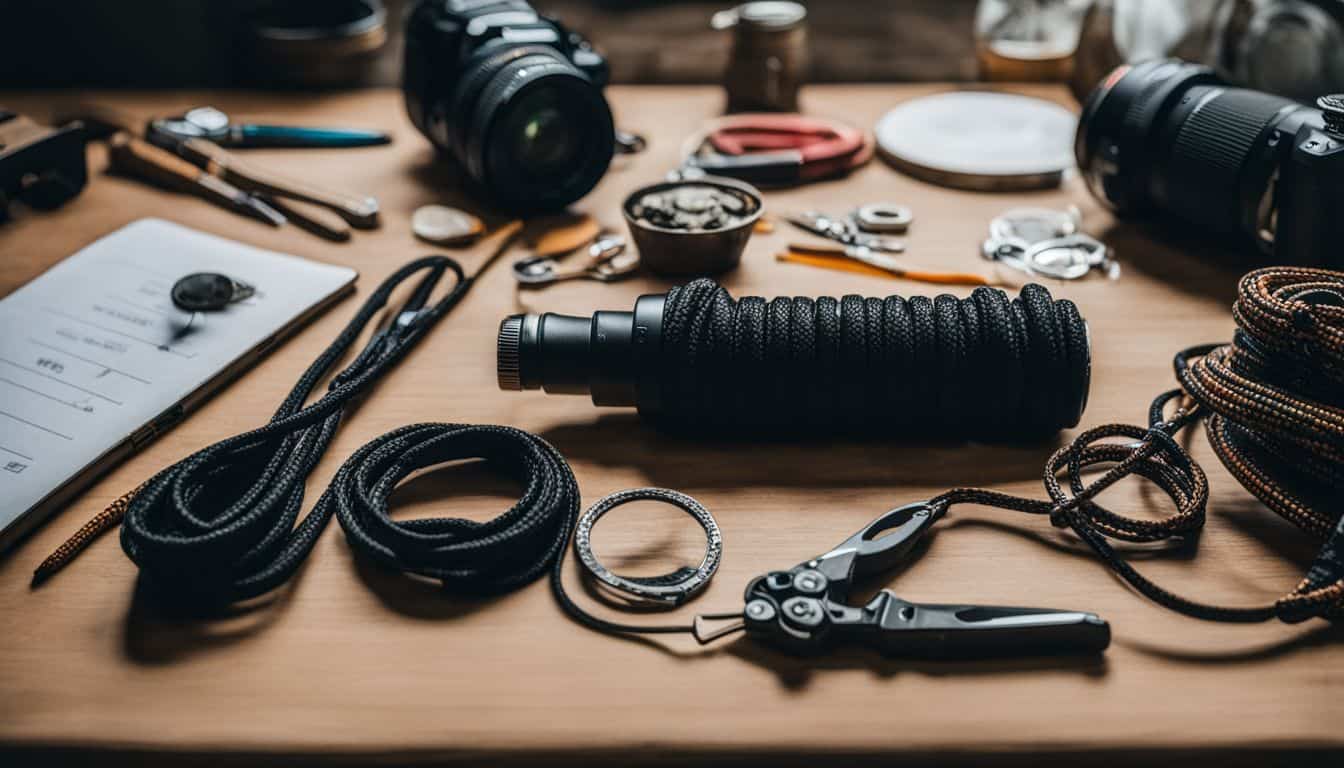 Crafting a paracord bracelet calls for certain tools and supplies. Here is what you need:
- Paracord: This type of cord can hold up to 550 pounds and is used in making the bracelet.
- Scissors: You have to cut the paracord. Make it a few inches longer than you need.
- Lighter: Use this to melt the ends of your cord. This stops them from fraying.
- Buckle or Button: Choose any one for closing your bracelet. Some people like bracelets without buckles. They use knots instead.
- Tape Measure: Wrap it around your wrist to find out how long the bracelet should be.
- Flat Surface: A table or desk is good for making your bracelet on.
Step-by-Step Instructions
You’ll embark on an easy-to-follow guide, starting with how to measure your wrist and find the center of your paracord. Then, we’ll delve into weaving the bracelet using various knotting techniques.
Finally, you’ll learn precise methods for trimming and securing ends to ensure a professional finish.
Measuring wrist and finding center of cord

Wrap the cord around your wrist to measure. It should be snug, but not too tight. Take note of where the end touches the cord. This is how you find out how long your bracelet needs to be.
Find the middle point of your cord next. Fold it in half and pinch it right at the center. You can use a pen or paper clip to mark this spot if you like. The center point is where you will start making knots for your paracord bracelet.
Weaving the braceletStart the weave by taking the right strand of the paracord. Pull it over the middle pieces and under the left strand. Next, pull the left strand under all other strands and through the loop made by your right hand piece on its opposite side.
Now make sure to tighten it up close to your buckle or knot at this point. Keep doing these steps until you see a nice bracelet pattern forming. This is called cord weaving which is very important in making a DIY paracord bracelet.
The key here is patience as it may take time for beginners but trust me, you will get better with practice!
Trimming and securing ends

Cut your paracord pieces longer at the start. This will help you later when you braid, weave or knot. After making the bracelet, trim these extra bits off. Use a lighter to melt and secure the ends of your paracord bracelet.
This stops it from coming loose or fraying at the edges. Be careful not to burn yourself with the flame!
Comprehensive Guide to Making a Paracord Bracelet

You need a long piece of paracord to start making the bracelet. Fold it in half and loop it over the end that is folded out. That’s how you start! Then, you tie knots and weave until you have a nice looking bracelet.
It might take time but keep at it.
The size of your wrist decides how long the bracelet should be. The best way to measure is by wrapping the cord around your wrist first. Once done, this simple DIY accessory can turn into a survival tool if needed! You could use it for tying stuff or even making shelters when outdoors.
Just unravel and start using!
Tips and Variations
Explore diverse bracelet patterns, find quality sources for purchasing materials, and discover other creative uses for paracord in your crafting ventures.
Other bracelet patterns
There are many ways to make a paracord bracelet. Here are some other patterns you can try:
- King Cobra Knot: This pattern takes the basic cobra knot to the next level. It uses a lot of paracord, but it gives you a thick and sturdy bracelet.
- Trinity Knot: This is a three-color design that looks complex but is easy to tie.
- Fish Tail Weave: You use two colors for this weave pattern which gives an interesting look to your bracelet.
- Shark Jawbone: This pattern forms a series of triangles, making it look like a shark’s jaw.
- Snake Knot: This simple pattern looks like the scales of a snake.
- Zigzag Stitch: This design uses one color in the middle with another color zigzagging on top.
- Soloman Bar: Also known as the cobra stitch or square knot, this is the most common weave used in paracord bracelets.
- Sawtooth: A more complex weave, this pattern resembles the teeth of a saw.
- River Bar: The texture from this weaving method makes it look like flowing water.
- Diamond Knot and Loop Closure: If you prefer not to use buckles on your bracelets, try this method for closure instead.
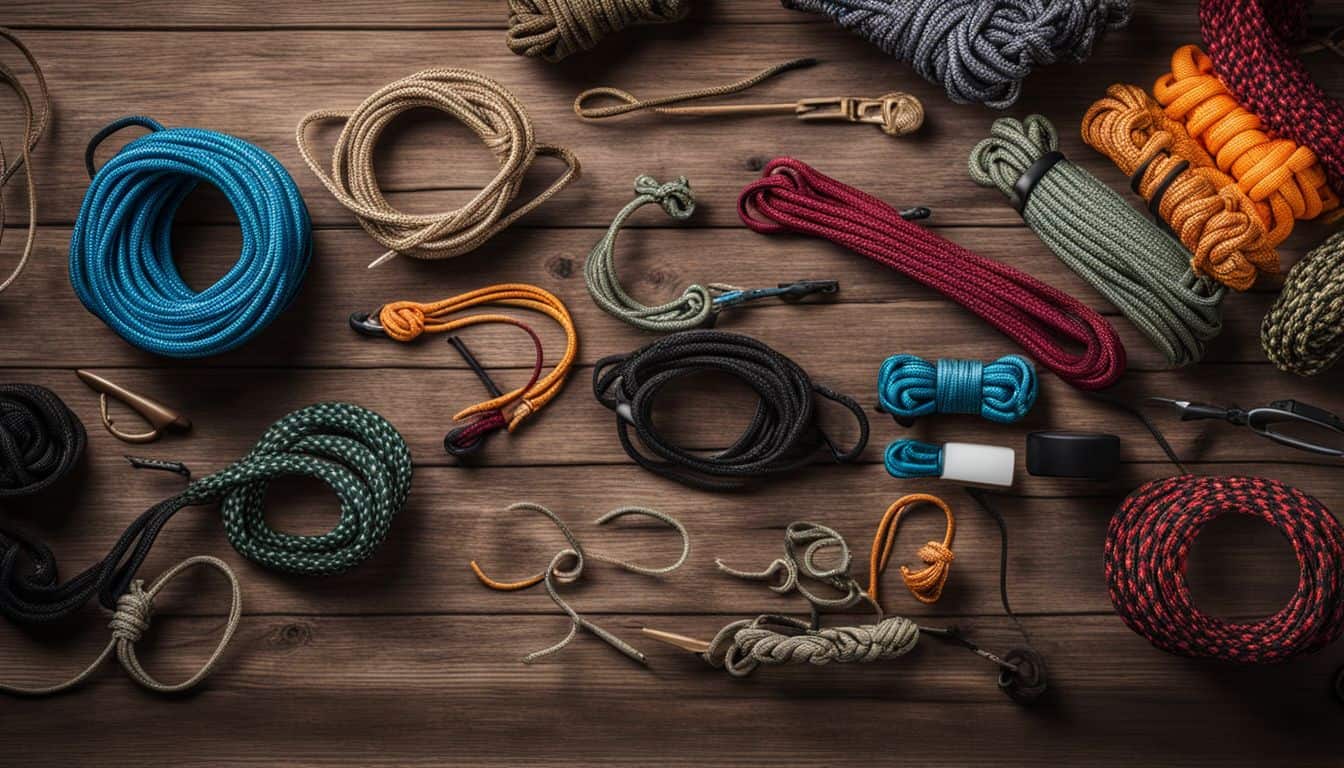
Where to buy materials

You can buy paracord and other bracelet making tools at craft stores. Many online shops sell them too. Amazon, eBay, and Etsy are good places to look for materials. You will also find kits for making paracord bracelets on these sites.
These kits have everything you need in one box! Craft supply websites like Michaels and Joann also carry a wide range of colors of paracord. Don’t forget to pick up some buckles or clasps if you want your bracelet to be easy to put on and take off!
Other creative uses for paracord
Paracord is not just used in bracelet making. It also has many other uses. You can make keychains, dog leashes, or even belts with it. Paracord is strong and light so you can use it to tie up gear when you go camping.
It’s great for building shelters too. People who love the outdoors find paracord very handy in emergencies because they can use its inner core if they need to.
Conclusion
Making your own paracord bracelet is fun and easy. These bracelets are cool, pretty, and helpful in the wild. Start making yours today. Go on an adventure with style and safety!
FAQs
1. What is a paracord bracelet?
A paracord bracelet is a wristband made from parachute cord, often used by hikers and campers for emergency rope needs.
2. How much paracord do I need to make a bracelet?
To make a standard adult-size paracord bracelet, you will need about 8-10 feet of cord.
3. Can I wear my paracord bracelet in water?
Yes, you can wear your paracord bracelet in water because parachute cord dries quickly and does not rot or mildew.
4. Can the cord in my paracord bracelet be reused after it’s been unwoven?
Yes, once you untie your paracord bracelet, the cord can be rewoven into another shape or form for use again.
5. Can children also learn to make a Parcord Bracelet too?
Yes! With careful guidance and help with cutting the cords and melting the ends if needed, even kids can enjoy making these fun bracelets!
